Lately we have been experimenting with some effects while editing our photos for Instagram. We wanted our pictures to stand out and be a little more original. And the one thing we love doing the most is adding a vintage effect in Photoshop through dust & scratch overlays.
Finding the perfect vintage effect for your photos is not the easiest. It took us a lot of experiments and trying out different things until we found the right look for us, and we’d love to share with you. So, here’s how we do it.
Please note: To use these effects you will need to have Photoshop on a computer (the mobile app does not work). If you are serious about photography, we highly recommend subscribing to the Adobe Photography plan, which gives you Photoshop and Lightroom Desktop for only $19.99 a month.
Step 1. Apply Your Presets
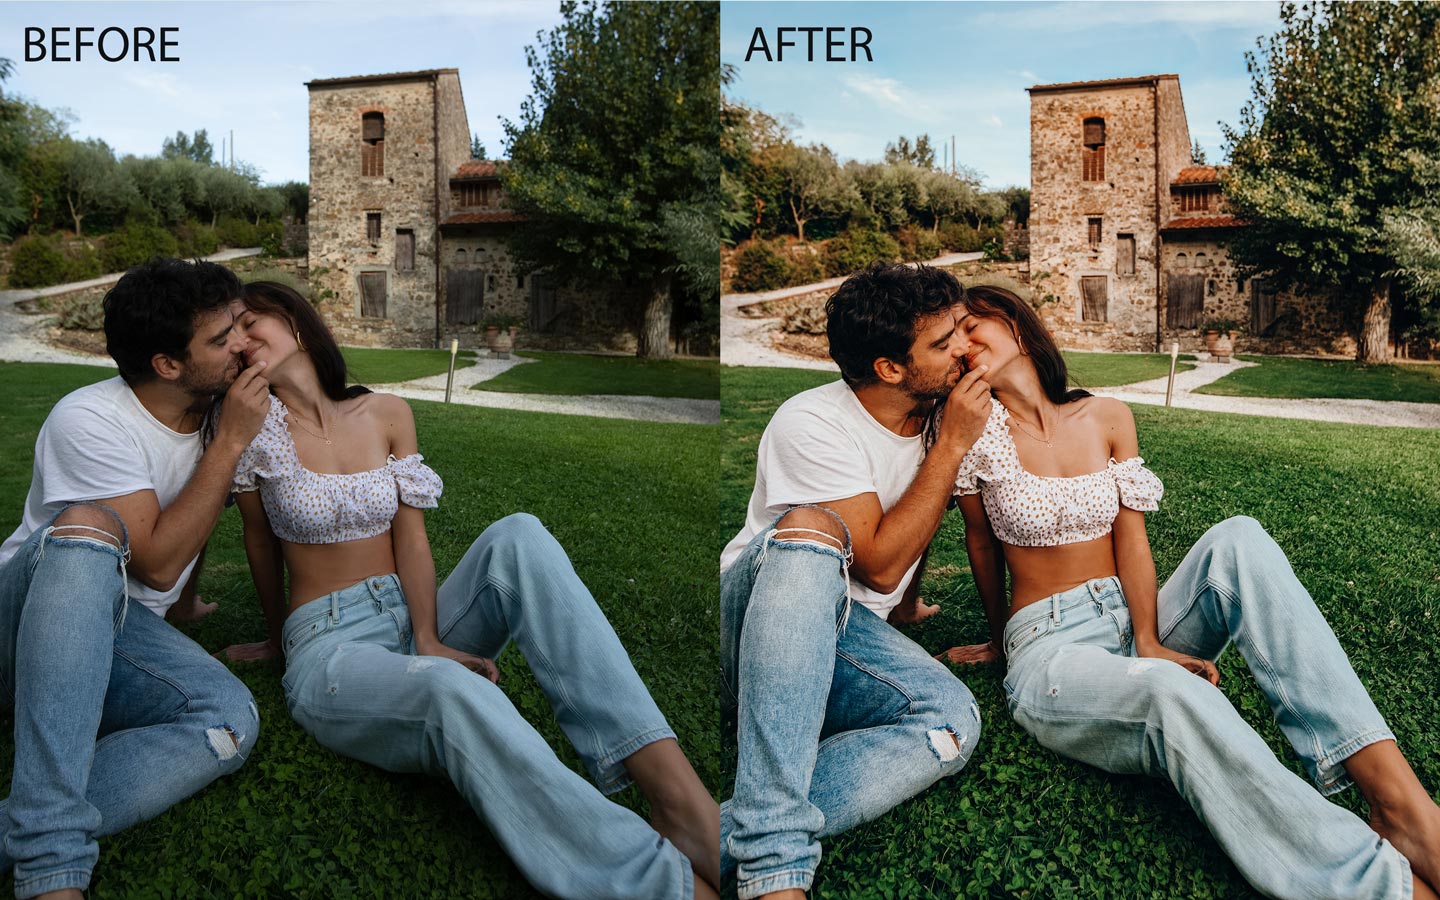
We start by editing our pictures in Lightroom to achieve our signature look. To do that, we use our custom Lightroom presets, which help us keep consistent colors across our feed and save us a lot of time while editing.
Here’s a before/after example of our edits done with our presets:

Step 2. Apply The Dust & Scratch Overlay In Photoshop
Open your edited picture in Photoshop to add the vintage effect. Then open one of the dust & scratch overlays you’d like to use. Our custom overlays are available here.
Select the Dust Overlay photo in Photoshop.
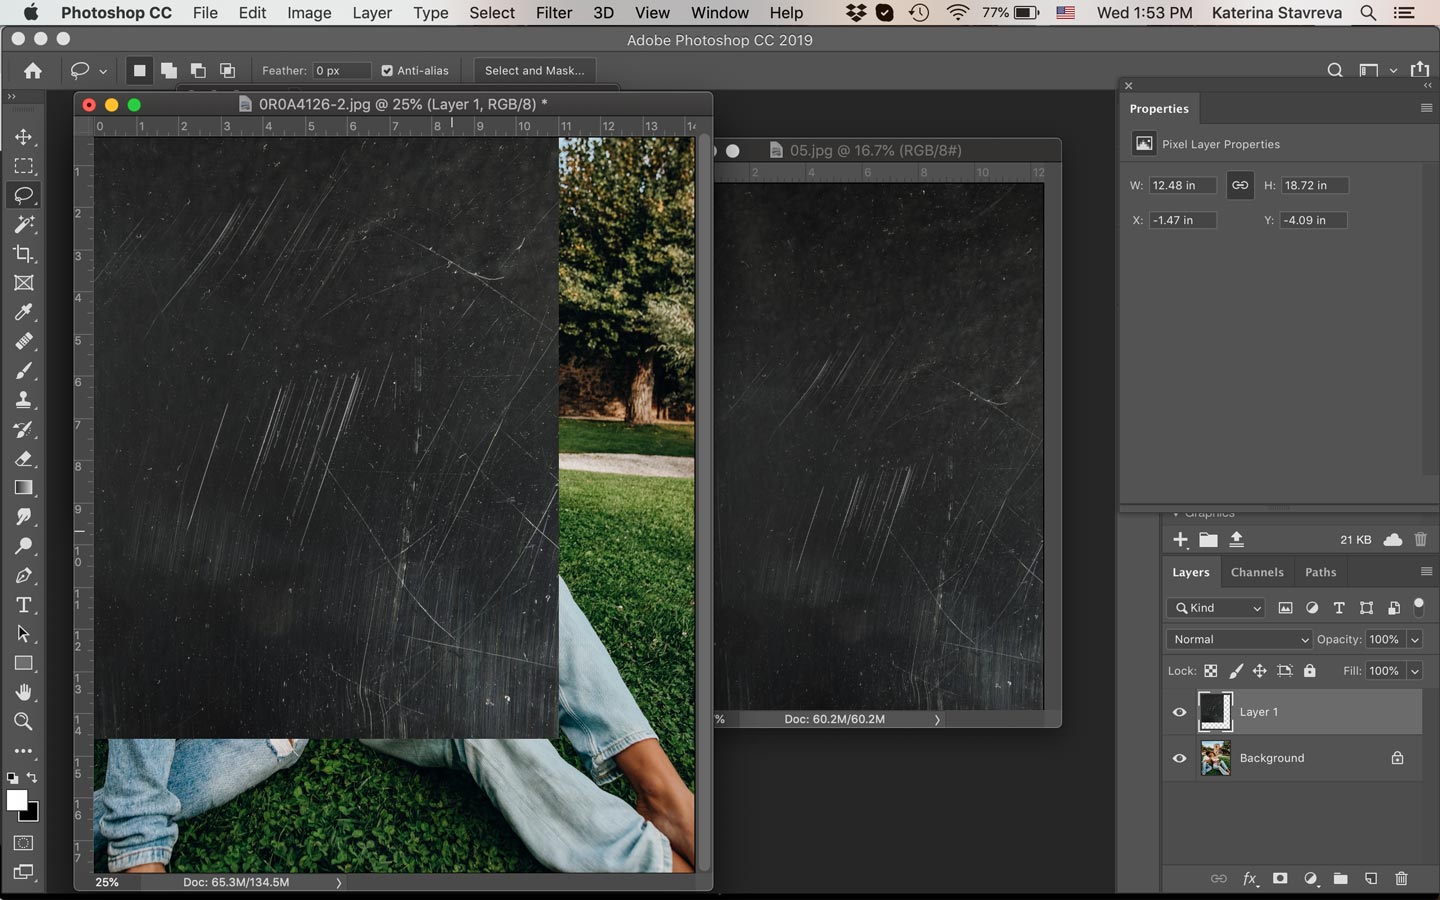
In the Layers panel on the right, drag the Background layer of the Dust Overlay and drop it into your edited picture.

Step 3. Change The Blending Mode To Lighten
After you placed the Dust Overlay on top of your photo, the result would look something like this:

Don’t panic! That’s how it should look 🙂
Drag the Dust Overlay around until it completely covers the photo. If the overlay is too small, you can stretch it to cover the entire area. You can also rotate it or erase parts of it that you don’t like.
Next, go to Layers panel and change the Blending Mode of the overlay to Lighten as shown below:

Step 4. Adjust Opacity
Now you can already see the scratchy effect on your photo. Head to the Layers panel on the right and adjust the Opacity of the Dust Overlay.
Higher opacity means more rough vintage effect, and lower opacity will make the scratches more subtle. This is a matter of taste but we like to keep ours around 75%.

Here you can also take the Eraser tool and erase any parts of the overlay you don’t like or just want to fade a little. Play with the strength and flow of the Eraser too to get the desired effect.
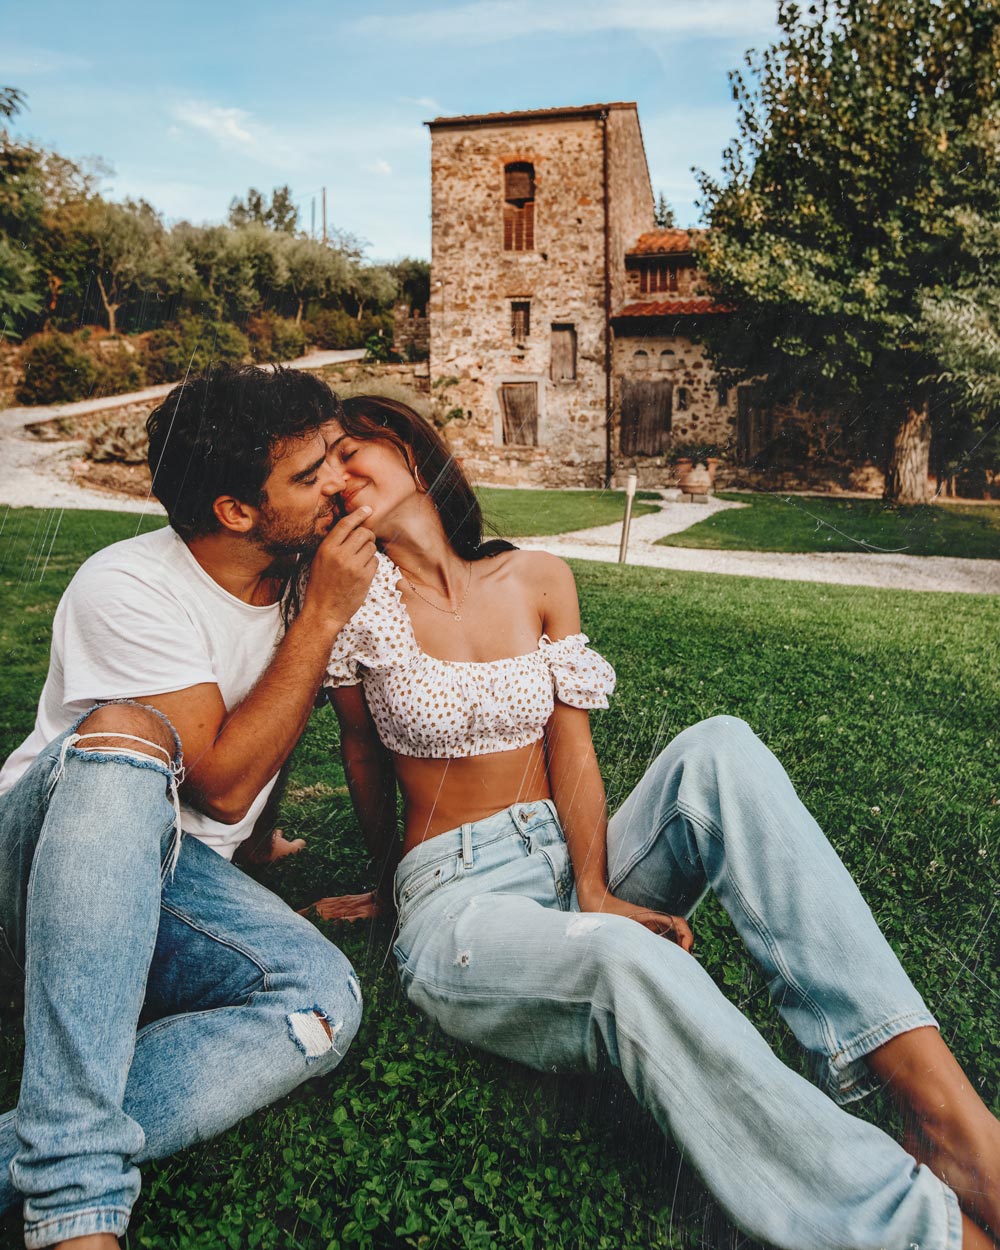
Flatten the image to merge the two layers and then save as JPG. And that’s it – you’re done! Your photo now has that soft vintage look 🙂


Good