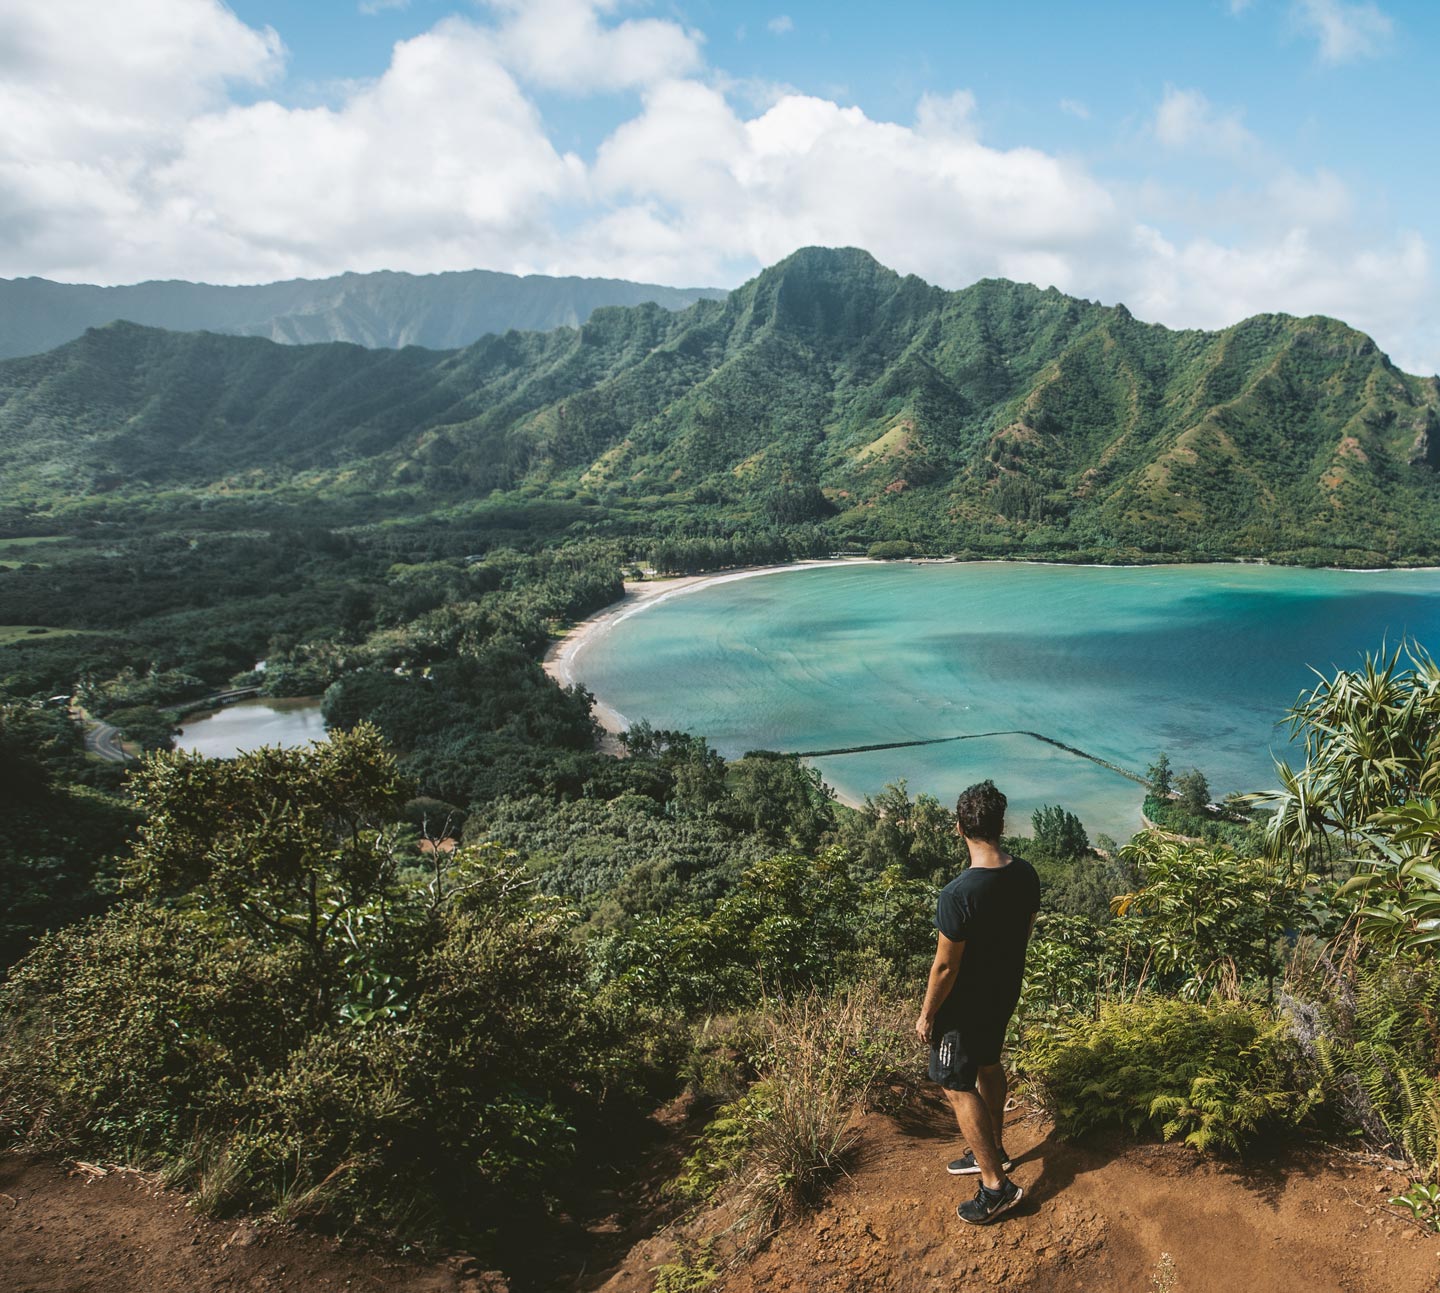
Crouching Lion hike is a short but steep incline hike with some of the most breathtaking views of Kahana bay in Oahu, Hawaii.
There are actually two Crouching Lion trails and they are very different. One takes about 4-5 hours to complete, can be very difficult and dangerous. And the other trail takes just about 45minutes, is moderately dangerous and offers a pretty good bang for your buck – not a lot of hiking with a lot of beautiful views. It is one of the most photographable hikes in Oahu and the best hike we’ve ever done!
The guide below is mostly for the short Crouching Lion hike as that’s the one we did, but we will give you instructions on finding the long trail as well.
Where Is The Crouching Lion Hike In Oahu?
Crouching Lion Long Trail
It’s best to park at the Swanzy Beach Park and walk up on Huamalani Road until you find the trailhead. The trail is right between two private properties. It can be difficult to follow up it’s usually marked by pink ribbons.
This trail is a 4 mile loop with an elevation gain of 2000 feet. The Crouching Lion Long Trail is not for the faint of heart as it features steep drop-offs and knife-thin ridges. We cannot stress enough how dangerous this hike can be, it has claimed a few lives! We recommend you only do this with a local guide who has experience with this trail.
Crouching Lion Short Trail
We chose to do the short trail as we are not very experienced hikers and just wanted to enjoy some nice views with not a lot of effort.
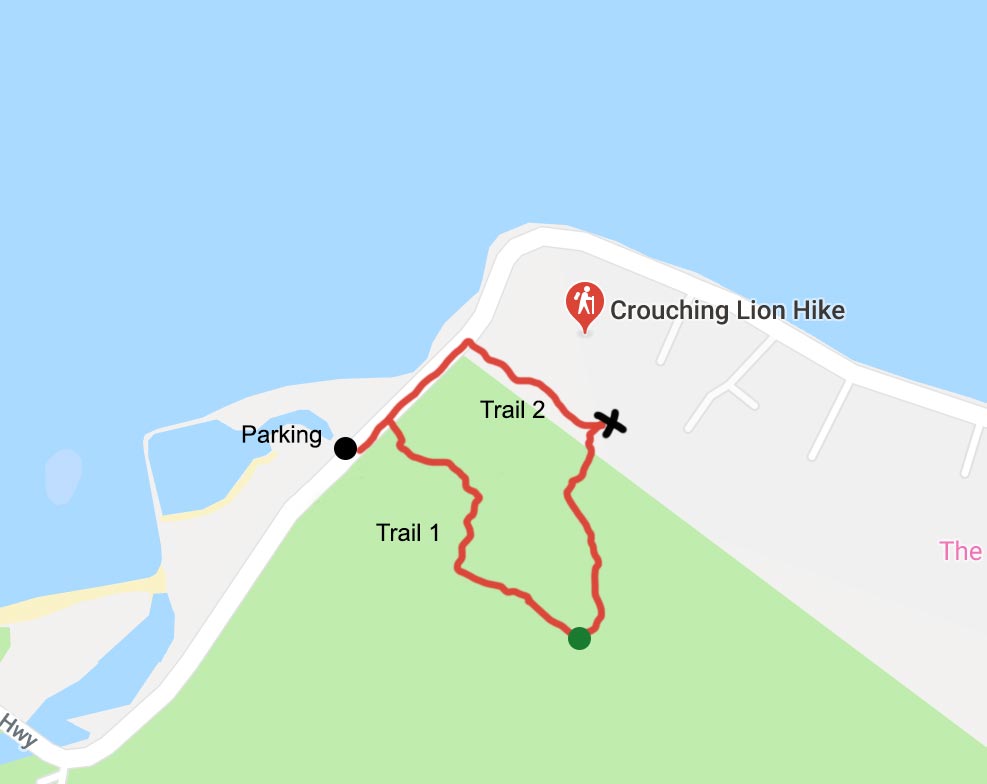
There are actually two short trails that will get you to the top of the Crouching Lion hike, and both are under a mile long. The first trail would be the longer, more difficult, but it is also a lot more picturesque. It should take about 45 minutes to the top at a normal pace. The second version of this trail is a little shorter, about 25 minutes, but it also skips a lot of the most stunning views along the way. But it is a lot faster and easier, at least at the start.
We made a map for you with the two trails below. Both trails are marked and the black cross marks the end of the hike.

After you park your car at the parking lot, head North along the road and look for the signs that mark the entrances. As this is a closed hike, you won’t see the usual hike marking signs. Instead, there are hike-at-your-own-risk signs warning of hazardous cliffs.
A word of caution regarding the parking lot: we heard a lot of people had their car broken into. For this reason we advise against trying to get to this hike first in the morning. There might be a higher chance of a break-in if your car is the only one in the lot early in the morning.
Is The Crouching Lion Hike Dangerous?
Hiking in Hawaii in general can be really dangerous. Multiple people die on these islands every year, mostly due to flash flooding, falling off ridges or going on a hike unprepared. People have died on the Crouching Lion hike as well, as recently as 2016. So don’t just head to a spot you saw on Instagram without doing much research, assuming it’s safe. Also keep in mind this trail is officially closed, so the state is not officially maintaining it. Still lots of people do it on their own risk.
That being said, if you are fit, confident in your hiking abilities and stay careful, you’ll be totally fine doing this hike. We don’t recommend going all the way to the end with kids or older people, but you can easily do the first half of the hike without any danger and still get to see amazing views.
The Conditions On Crouching Lion Hike
We don’t recommend you hike this trail in rainy weather. It can be slippery and dangerous when it’s muddy and you might not be able to even get the beautiful views if it’s cloudy. Since this is the East side of Oahu, it rains a lot so you might need to plan more carefully for this. We spent a week in Oahu and only had one suitable day with no rain and clouds on that side of the island.
Trail No. 1 On The Way Up
We took the longer Crouching Lion trail on the way up by mistake, but ended up being very happy about it. The first half of this trail is strenuous, it starts off steep early on and it only gets steeper. There are a couple of parts with ropes – the vertical incline can be a little tough with nothing to hold on to. This part can be difficult for children or seniors but if you are fit you shouldn’t have any problems. Still, it didn’t feel dangerous to us – no sharp drop offs or cliffs.

After about 20 minutes on this trail the most spectacular views of Kahana Bay open up in front of you. At this point the near-vertical inclines end and you have a bit of easy hiking on pretty even ground. If you worry about steep drop offs and slipping off the edge of a cliff, you can end your hike here and head back. We marked this spot with a green circle on the map above. Other than the very end of the hike, you won’t get a much better view but you will get some dangerous parts. But if you are confident in your hiking and take your time, you’ll be fine getting to the end.
If you continue forward, there are some parts of the trail have pretty steep drop offs, but mostly on just one side. Stay low and go slowly in these parts and you should be fine. Most of the last third of the trail is not steep, except for the very end where you need to climb a little to get to the top.

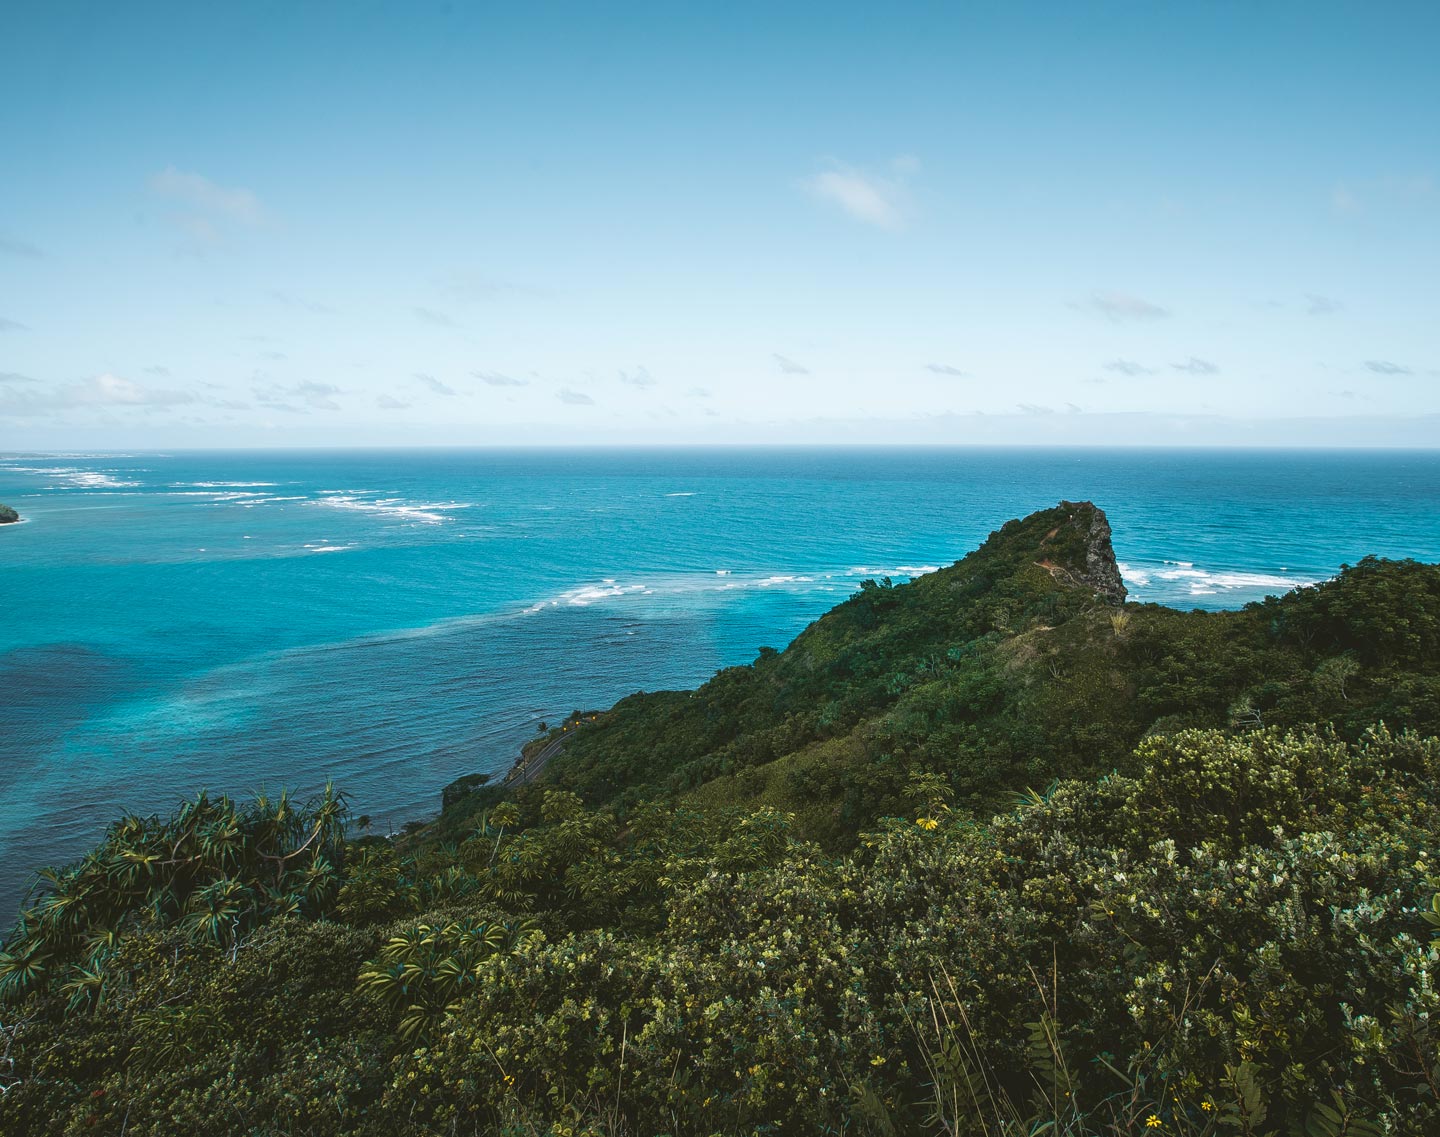
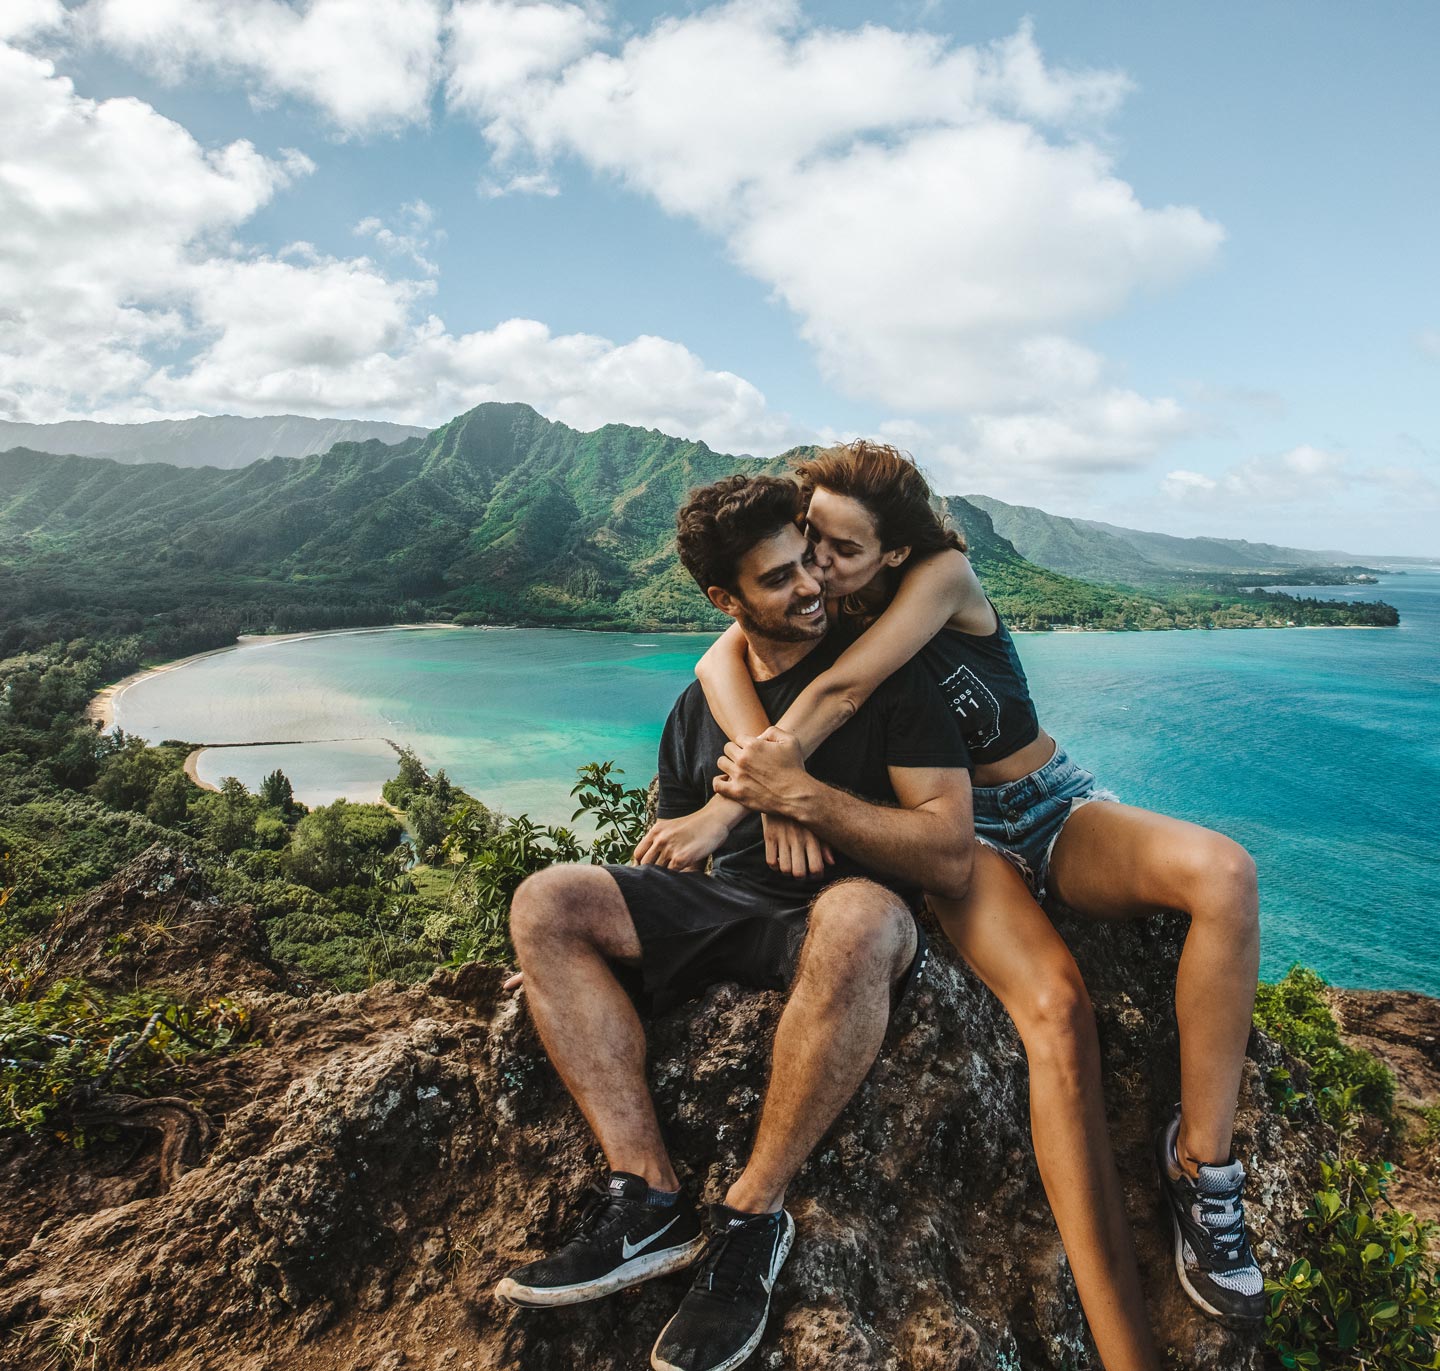
If you made it to the top – congratulations! This is the most rewarding part of the whole trail. The views are breathtaking in every direction so sit down and enjoy for a minute. This is the most stunning part of the entire hike but also the most dangerous. The wind here is strong and can come out of nowhere, so be sure to stay low and move slowly and carefully.

Views at the end of the trail
Trail No. 2 On The Way Down
No matter which way you come up, we recommend you take trail no. 2 on the way down. You’ll likely be tired and this trail is much shorter and not dangerous at all. There are also no steep parts here, which can be tricky on the way down. It took us a quick 20 minutes to get down to our car this way and it felt pretty painless.
Enjoy The Crouching Lion Hike!
We’ll say again – the Crouching Lion hike can be dangerous and tricky, especially when wet. It is also technically illegal and the state of Hawaii does not recommend you do it. But if you use caution and take it slow, it’s totally doable and absolutely worth it. It offers some of the most beautiful views for the least amount of effort and time.


Thank you so much for this article it was super helpful! How long should I give myself do think for the hike?
Author
Depends which way you choose, the shorter one is about 30 min each way, and the longer one is probably closer to an hour. So give yourself about 2 hours for the whole hike
Okay, that’s absolutely like a dream! 🙈🙉 I have no plans yet but I know I will visit it one day and can’t wait for it 😍😃
Author
It’s a must-do in Hawaii 😀
Where exactly is the parking lot you refer to for the shorter trail?
Thank you for sharing. I can’t wait to experience this along with my family this month.
Thank you for sharing. We would love to experience this soon!